I’ve always had this vision of my entire family coming over to my house on Sundays. We eat together, we laugh together, we catch up on the week, and we set our intentions going into the next week. It would allow us the opportunity to really be in community with each other. Well, as life does, that hasn’t happened -yet-. I’m remaining optimistic, despite the fact that my mother and sister live out in the Boonies™ and it’s hard to coordinate with everyone’s schedules. One of these days, it’s going to happen and it will stick and it will be beautiful. But until then, I’m going to keep developing my recipes for that day. This is one of the recipes I have perfected, and I know for a fact that this will surely impress my mom and baby sister (who is the pickiest eater on the planet, might I add). Being a chef and having a little sister is like having a built-in food critic. I take her advice with a grain of salt, since her diet consists mostly of chicken tenders, mac and cheese and french fries… but when I make something that is outside of her comfort zone and she likes it?? Oh, I KNOW it’s a hit. Anyway, let’s get into this recipe.
I know making a whole chicken can be quite intimidating, but following this recipe will show you that the process is not as daunting as it may seem. This is a situation where one of your most important tools will be a meat thermometer. You can get them anywhere and they’re not terribly expensive. Desired temperature for chicken is a crisp 165° Fahrenheit. The secret to a juicy chicken with crispy skin is butter. Butter is going to be your best friend with this recipe, so don’t shy away. That being said, take out two sticks of butter (a cup) and let it come down to room temperature. When you buy a whole chicken, it usually comes with all the innards tucked nicely into the crevasse of the bird. If you’re anything like my mother, this will freak you out but you have to toughen up. You have to pull everything out of the chicken, use gloves if you must. DON’T THROW IT AWAY!!!! Save it and throw it in your freezer and I’ll tell you what to do with it, here. If you want to know what all those little parts tucked into the crevasse of the chicken are, it is usually the heart, neck and lungs. For my health conscious folks, chicken hearts are especially high in nutrients our bodies need to function such as: zinc, iron, selenium, vitamins B6 and B12. And if you don’t want to eat or use it, they’re great for your dogs too! Once all those things are cleaned out, you’re going to want to clean your chicken. Now, there are so many different ways to do this. I like to examine my chicken for feathers first, because sometimes they’re still left on the chicken, depending on where and who you’re buying from. Go ahead and pluck them off. Then I take a large bowl, and make a 50/50 solution of filtered water and vinegar and to let my chicken soak for 20 minutes. Now, when I was in culinary school, our chef instructor kind of stressed the fact that it isn’t super necessary to clean your meat; reason being you can clean it wrong and it could cause bacteria to grow. I understand not doing it for beef or pork BUT, I am a little iffy when it comes to chicken…so I choose to clean it. I just like to make sure it’s good…which is kind of subjective. YOU DO YOU.
What you’ll need:
Serves: 4 – 6
- Whole Chicken
- 1 cup butter
- 2 Bay Leaves
- ½ tbsp Sage
- ½ tbsp Thyme
- ½ tbsp black pepper
- 10 cloves garlic *minced*
- 1 tbsp lemon zest
- ½ tbsp paprika
- 1 tsp allspice
- ¼ yellow onion *minced*
- 1 tsp chili pepper flakes (can omit)
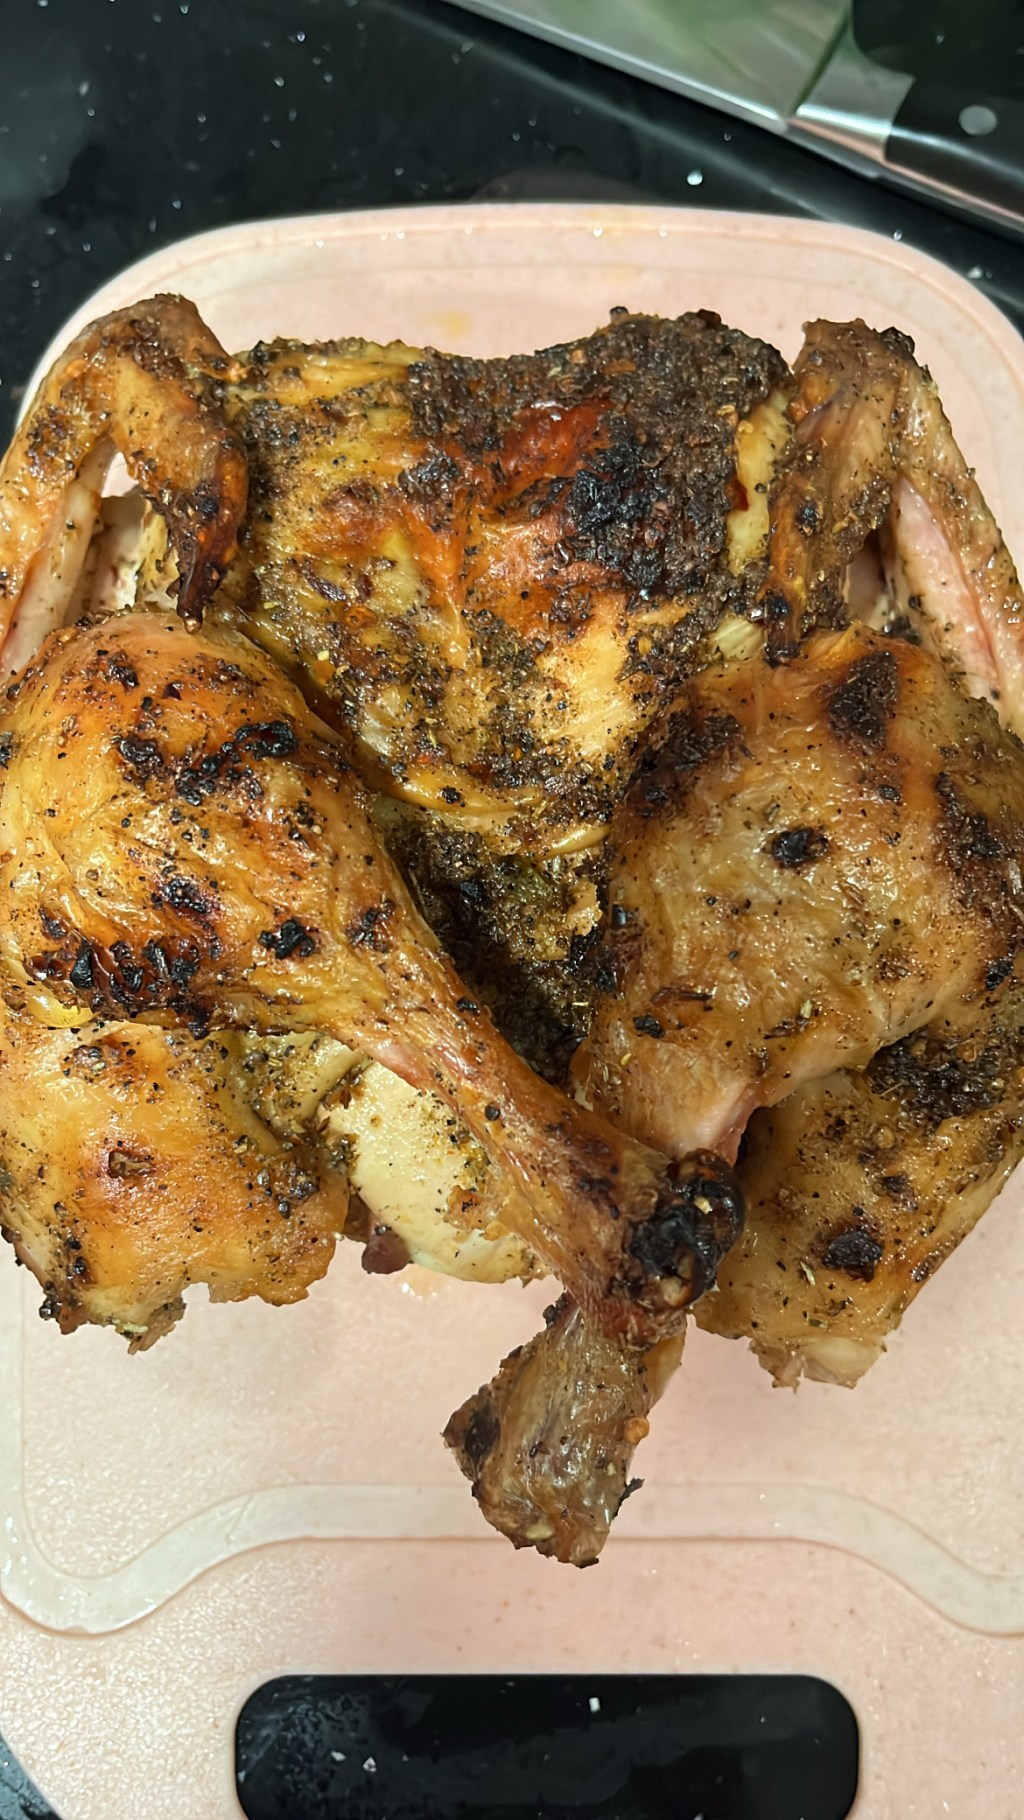
Preheat your oven to 350° Fahrenheit. To prep my chicken, I salt the entire thing generously and stick it in my fridge while I prepare my seasoning mixture. This process ensures your chicken will be well-flavored and juicy, since we’re cooking this in the oven. It’s a process of “dry-aging”, but since it’s chicken, it can and will break down if you leave the salt on for too long. I like to do this for about an hour before I cook my chicken. You can also get a little fancy and spatchcock your chicken. This means cutting the spine off the chicken so it lies flat. I will spatchcock it, depending on what I’m cooking my chicken with. This doesn’t change the outcome of how the bird is cooked. It does, however look a little fancy and you can impress your friends and family with new culinary verbiage. When it comes to making a whole chicken, my food processor becomes my best friend. It just makes combining the seasonings with the butter *that* much easier. But it’s fine if you don’t have one, you can combine seasonings in a bowl by folding everything in with a rubber spatula. Into my food processor, I add the room temperature butter and all of the seasonings mentioned above. This is my signature seasoning mixture for a whole chicken. I pulse everything in my food processor until it’s nicely combined. You don’t have to use fresh garlic cloves or onion, but I prefer it because I think it tastes better. Once everything is nicely combined, I take my chicken out of the refrigerator and wipe off all that salt I added to it prior. You’re going to take your butter mixture and MOISTURIZE your chicken with it (yes, all of it). You want to make sure you are getting into the crevasse of the chicken, under the skin, and in all the nooks and crannies in and around that chicken. This will ensure your chicken is flavored to the max. You can stuff the chicken with vegetables like potato, corn, or carrot if you’d like for an array of added flavor. I like to bake my chicken in a cast iron skillet. This works for me, as I usually add other vegetables underneath the chicken to soak up all that chicken and butter flavor. You can also bake your chicken on a baking tray atop a baking rack; again, whatever works for you. I bake the chicken for about an hour, checking on it every 15 minutes and temping it! You are looking for color and for your chicken to hit an internal temperature of 165° Fahrenheit. You want your chicken to be a beautiful golden brown color. Once your chicken meets those specifications, take it out of the oven and allow it to rest for 5 – 10 minutes. When you take meat off the fire, the muscles constrict and tighten, making the meat tough and chewy. Allowing it to rest, gives the meat a chance to “loosen” up a bit, making it tender and juicy. And there you have it! A beautiful roast chicken, perfect for any gathering or even just for yourself. I can show you what to do with the leftovers in another post. Happy Eating!

Leave a comment